
Introduction ('Home')
Construction Phase
General Photographs
Pot Furnace Repair Photographs
Pot Furnace Marver Photographs
Small Furnace Construction
Lehr Construction Photographs
The construction phase for the small furnace has been divided into four sections
Superstructure Construction Photographs
Marver Photographs
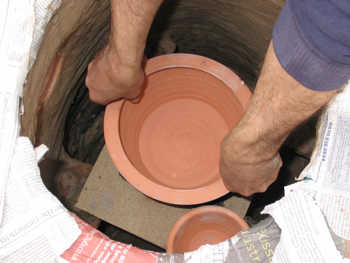
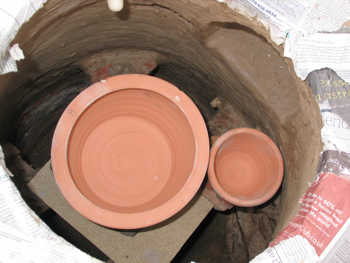
Pot Setting Photographs
Trench and Wiring Photographs
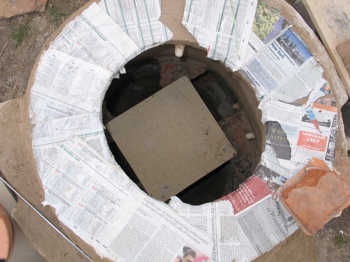
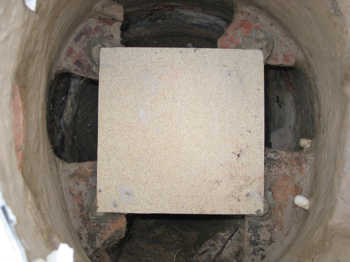
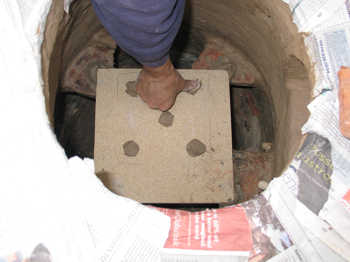
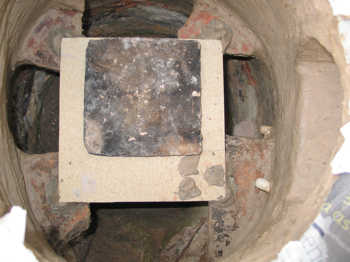
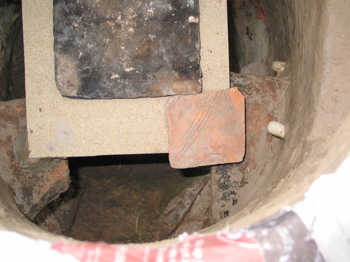
The shelf was a 30cm square kiln batt resting on the four tile fragments that were jutting out from the side wall. Each corner rested on a pad of daub so we could level the shelf. Our original choice for the shelf was a thick terracotta tile (a Roman 'pedalis'), but this was not to be!
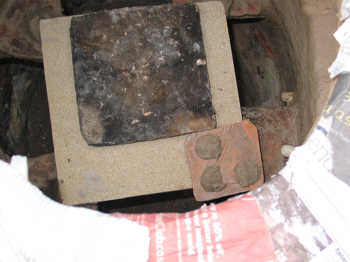
We set the pots on two smaller tile plinths, each of which had a layer of sand on which the pots rested. This helped to prevent the molten glass sticking the pots to the tiles.
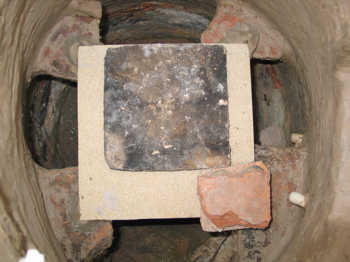
Some of the ceramic thermocouple covers can be seen protruding from the wall.
|
|
|
|
|
|
|
|
|
|
"If you build it, they will come."