Roman Glassmakers

Home   Roman Glass   Glass From Other Periods   Business Topics   Other Topics

Calendar   Contact Us     Details of our reproductions can be found in our Gallery

Roman Furnace Project 2005: Construction Phase

Introduction ('Home')
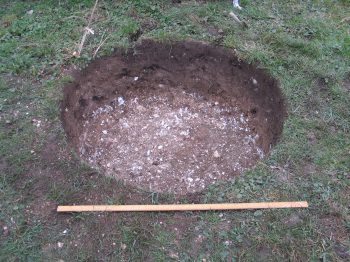
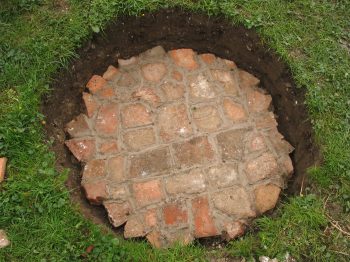
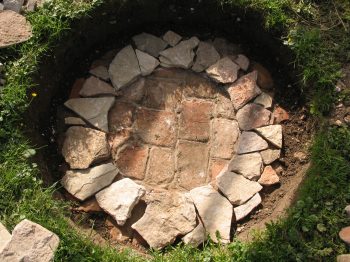
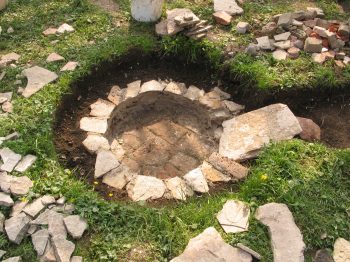
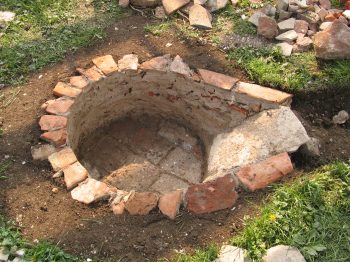
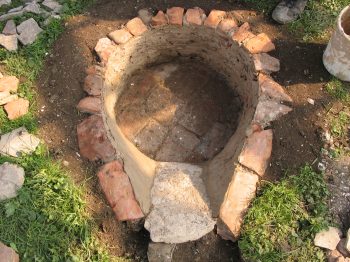
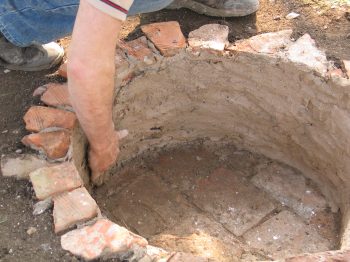
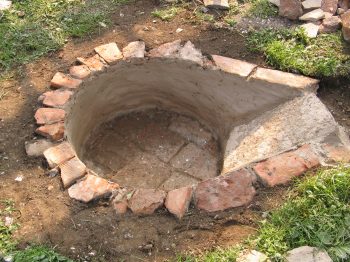
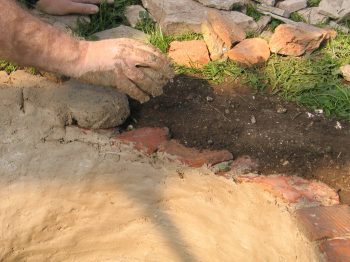
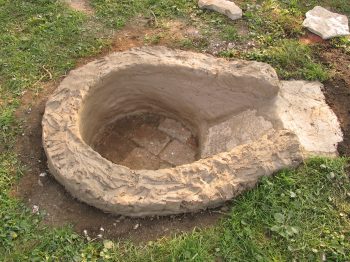
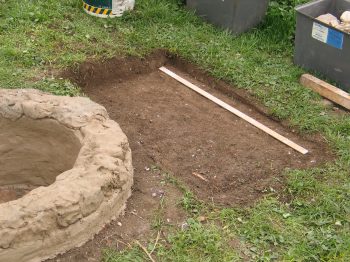
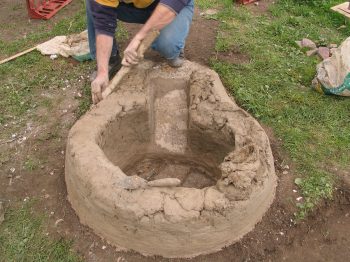
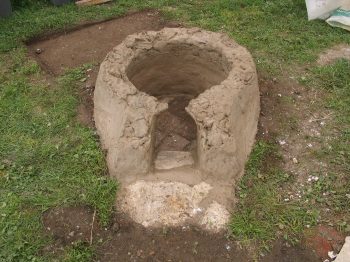
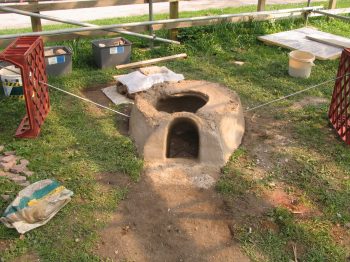
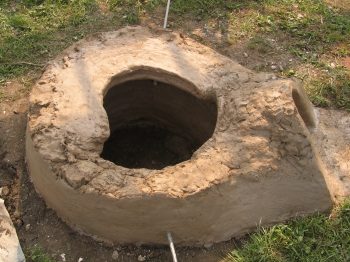
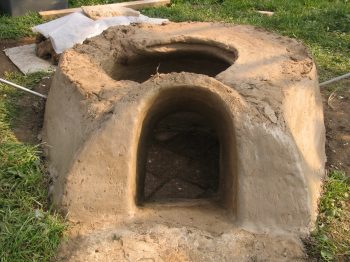
   Construction Phase   General Photographs   Daub-making Photographs

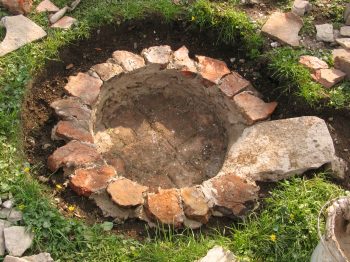
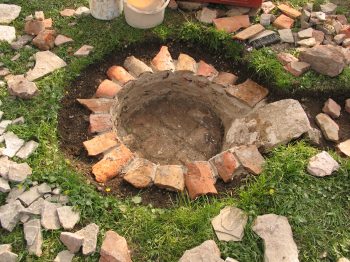
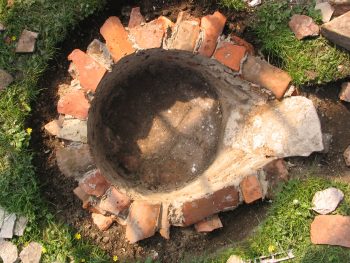
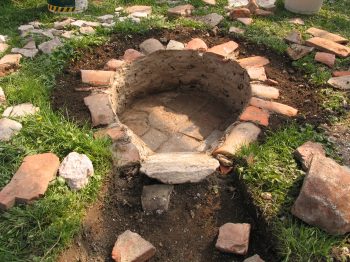
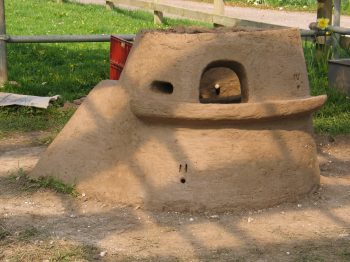
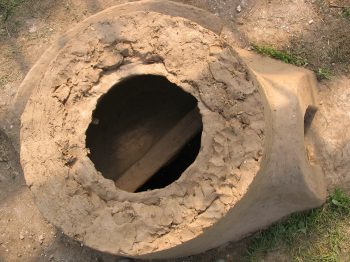
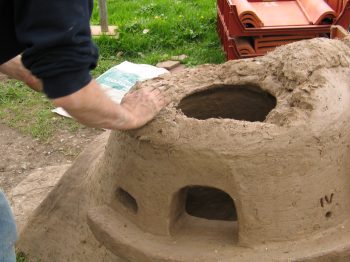
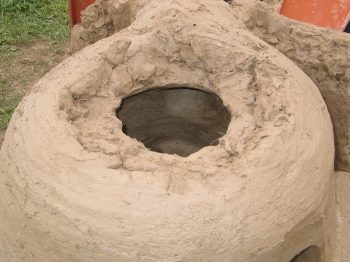
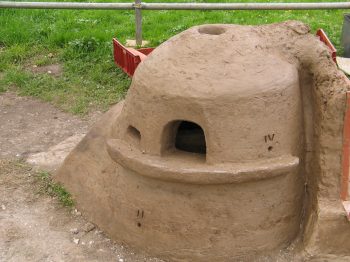
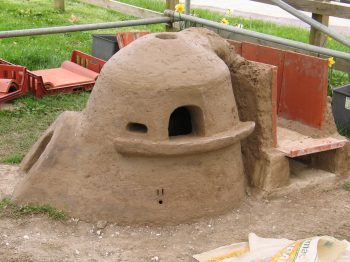
Pot Furnace Photographs   Tank Furnace Photographs   
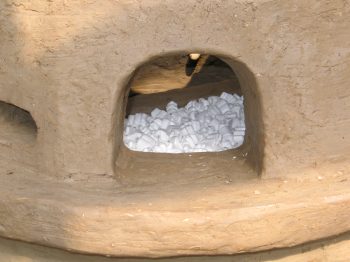
Annealing Oven Photographs

1. The hole in the ground. 2. The hearth.
3. The first layer (stone). 4. The first three layers and the chute (stone).
5. The fourth layer (tile - mainly tegulae). 6. The fifth layer (tile - mainly imbrices).
7. The finished tile wall. 8. The finished tile wall.
9. Backfilling behind the wall completed. 10. Backfilling behind the wall completed.
11. A layer of daub on the tiles has been started. 12. Daubing the tiles.
13. The finished layer of daub. 14. Building the superstructure.
15. The start of the daub wall. 16. Preparation for the annealing oven.
17. Extending the wall. 18. Forming the stoke hole arch.
19. Making the thermocouple tunnels. 20. Starting the base of the tank.
21. The stoke hole arch. 22. The completed tank base.
23. Starting the shelf. 24. Building the wall.
25. Lining the tank. 26. Building the tank wall.
27. The completed tank. 28. Adjusting the shelf height.
29. The warming hole and gathering hole. 30. General view.
31. Completed to roof height. 32. Top view.
33. Starting the roof. 34. The partly completed roof.
35. Continuing the roof. 36. Measuring the capacity of the tank.
37. The completed furnace. 38. The completed furnace.

"If you build it, they will come."

Home   Roman Glass   Glass From Other Periods   Business Topics   Other Topics

Calendar   Contact Us     Details of our reproductions can be found in our Gallery